Saturday, October 30, 2010

Chocolate Butterscotch Tartlets

This was the second easiest and quickest dessert I've ever made- it was great! It took just under 30min from start to finish, including chopping, cooking and cooling time. And the best bit was that there was enough for Friday Pizza night desserts AND lunch dessert with the family the next day! I love making something once and having it last for 2 meals ;-)


Ingredients:
12 frozen tartlet cases
1/4 cup firmly packed brown sugar
20g butter
1/4 cup cream
150g dark eating chocolate, chopped coarsely
1/4 cup cream (extra)
2 tbs coarsely chopped roasted hazelnuts
1 tbs cocoa powder

Step 1: The Tartlet Cases
Bake the tartlet cases according to the packet instructions. In my case this was for 10min in a 160degree Celc oven (fan forced). However, I did 10min and thought they still looked a bit pale so kept them in 5min longer.


Step 2: The Filling
Meanwhile, heat combined sugar, butter and cream (1/4 cup) in a small saucepan, stirring until the sugar dissolves. Reduce heat simmer, uncovered and without stirring for 2 minutes. Cool for 5 minutes.
 Stir in chocolate and the extra cream (1/4 cup) until chocolate is completely melted. At this stage I realised that I hadn't chopped up the chocolate 'coarsely chopped' enough because it wasn't melting completely and I had to put it back on the hot plate (turned off but still hot) to heat it up until the chocolate melted. Once the chocolate is mixed through put into the fridge for 10min.

Step 3: Creation
Divide mixture among tartlet cases, sprinkle with nuts and sifted cocoa. Tip: Don't put the cocoa into the sifter right above the tartlets... it will all fall through onto a couple of the tartlets and you'll get a heap of cocoa that you have to try and blow/brush off!!!


Step 4: Clean Up
Lick saucepan and dividing spoon until sparkling clean! ;-) Its chocolate - how can you not?!

Sunday, October 24, 2010

Lemon Meringue Pie

This week's dessert was made on Saturday as Friday Pizza night was rescheduled. This meant that I could spend slightly more time making dessert this week. However having said that, I still think it falls under the quick and easy heading... now that I've made it once that is; I've made all your mistakes for you so you won't have to!

Ingredients:
3tbs cornflour
1 1/4 cups sugar plus 6tbs sugar
1/2 cup lemon juice
1 tbs lemon rind
3 eggs -separated
1 1/2 cups boiling water
1 x 23cm Shortcrust Pastry Shell (baked)

Step 1: The Pastry
So, tip number one: buy a ready made pastry shell. I decided to make one out of frozen pastry sheets thinking this would be fairly easy. I'm not saying it was hard, but it added at least 40min on to the overall prep/cooking time. Next time, I'm just buying one.
I cut, joined, and baked the pastry sheets to make a tart shell. I was worried about it sticking to the pie dish I have, but as the above pics show, the pastry came away from the sides in the cooking process so nothing to worry about there. I doubt I'm the only one who does this, but I have rice set aside for pastry cooking because when you fill the pastry with rice to stop it rising, the rice becomes way to dry to ever use again in food. Also, for the shortcrust pastry newbies out there, don't panic when the pastry puffs up - it will deflate!

Set the pastry aside to cool. (Go away or awhile).

Step 2: The Filling
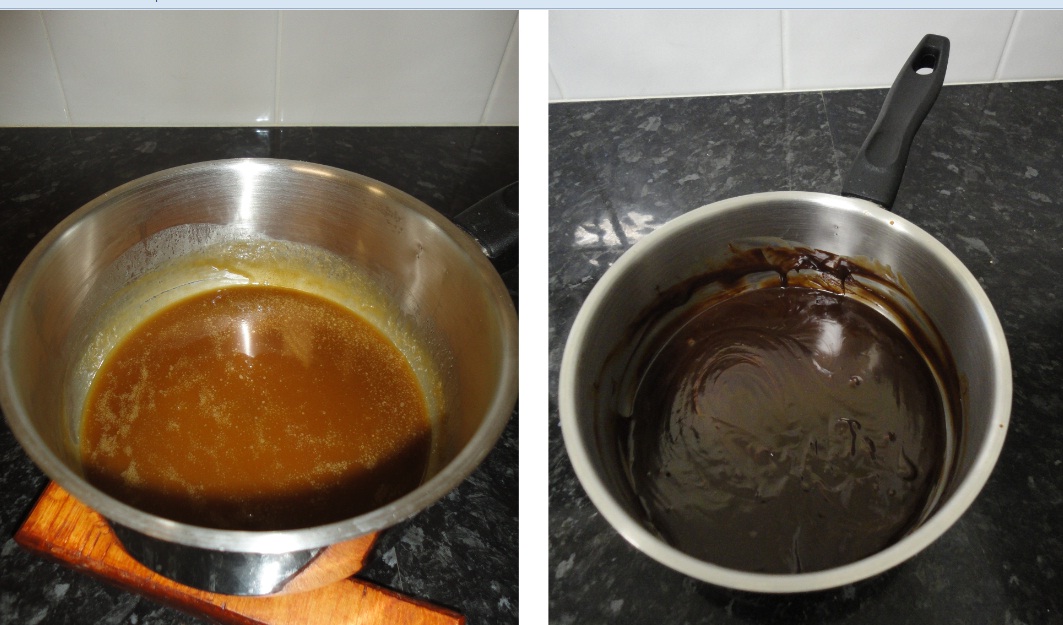
Combine cornflour, 1 1/4 cups sugar, lemon juice and lemon rind in a saucepan. Beat egg yolks until thick and fluffy and then add into the saucepan. Gradually add boiling water. It will look something like this...
The recipe says to "Heat to simmering over very gentle heat, stirring constantly until thickened"... Our stove top goes from 1-6 so I figured "very gentle" means 1, maybe 2. So I start on 1... 5min later doesn't seem to be doing anything. Put it up to 2... 5 min later still nothing. Put it up to 3... 10min later I get fed up and put it up to 4, where it actually starts to thicken and simmer. "Very Gentle" it says. Ha. I'd say low and then medium heat (if not just medium heat to begin with). Unlike the 25-30min I spent at the stove top constantly stirring, I'd say this step should take a maximum of 10min.

Once it thickens, let it simmer for 3 or so minutes. Pour into pastry shell and leave it to cool. (Go away for awhile again)

Step 3: The Meringue
Preheat oven to 190degrees Celcius (fan forced). Beat egg whites until stiff but not dry and  gradually add remaining sugar. Spread over the cooled pie, making sure to touch all the edges of the pastry shell. Bake for 5min or until meringue is very pale brown.

Cool and serve with whipped cream.


So although I had a total prep and cooking time of over 2hrs, if done right, this could very well be a quick and easy dessert. Buying a pastry shell saves at least 30min. If you don't follow the 'very gentle' guidelines of the actual recipe, filling only takes 10-15min, and you could put it in the fridge to help it cool quicker. Then all you need is the meringue which again only takes 10mins. Eeeasy. What takes up the most time is the 'cooling off period', but that's what they invented fridges for! (Well it could have been one of the reasons anyway...)

BONUS DESSERT!
Because I made the round pastry shell out of square sheets, I had some left over. I usually make little jam rolls with leftover pastries, but this time I decided to try using Nutella. Spread the Nutella (or jam) over the pastry, roll it up and then bake it. You can't get much easier than that people.

I admit the Nutella isn't as great as the jam rolls, but its not bad for the amount of effort you put into it!

Sunday, October 17, 2010

Apple Berry Crisp

As usual, it came to be Thursday evening and I realised that I needed a dessert recipe for Friday night. Every Thursday I say to myself 'Right, next week I'm going to plan dessert before Thursdy' ... inevitably it never happens that way. So Google is often my saviour on Thursdays! There are so many good recipes out there and this week I decided to do something differenty - I went with a video recipe. http://www.ifood.tv/recipe/apple-berry-crisp

The good news is that it forced me to go through the entire recipe at least once - I have a nasty habit of going through one 'Step' at a time as I make it and ofcourse come across a 'Meanwhile' or 'Pre-prepared' or something else that makes me swear. 

The recipe calls for 4 apples (peeled & sliced) and 6 cups of mixed berries, but I could tell that was going to be waaaay too much for 3people, so I decreased it 3 apples and 3cups of mixed berries. As it turned out, still too much, but that just means we get to have it 2 nights ;-)

Sprinkle the flour/sugar/lemon rind mixture over the apples & berries and mix through. This was when I realised that I should have decreased the recipe even more than I did... 
 The 'crisp' is just made up of flour, rolled oats, sugar, cinnamon and melted butter. I got to combine it with my hands which is always one of my favourite things to do when cooking! Sprinkle this evenly over the top of the apples & berries.

Its meant to go in the oven for 40-45 min but because I made it at home and then carted it over to the Pizzaman's place,  I cooked it for 30min at home in our oven, and then a couple hours later after pizza, cooked it a further 15min. It probably could have done with a bit longer as the apples were still a bit hard -but Mr Pink and the Pizzaman assured me they were nice that way... Still, a bit longer I think. Or thinner slices than I did... 
I forgot to take a picture before I started serving (I'm new at this ok! sheesh!) but I figure this helps show the insides as well and so is probably better anyway! I let it cool a little and then served it with ice-cream. I gave the boys 'decent' sized serves and we didn't even go through half of it.. I really need to learn how to decrease recipes appropriately! ;-)